최신 Apache 서비스 등록 및 설정 (Apache 2.4.54)
1. httpd service 등록 및 시작
: httpd 설치 디렉토리/bin/apachectl 파일을 시스템 서비스 파일로 복사하고 변경해 줍니다.
# cp /usr/local/apache2/bin/apachectl /etc/init.d/httpd
# vi /etc/init.d/httpd 실행하여 아래의 5 줄을 추가해 줍니다.
# chkconfig: 2345 90 90
# description: Apache is a World Wide Web server.
# processname: /usr/local/apache2/bin/apachectl
# config: /usr/local/apache2/conf/httpd.conf
# pidfile: /usr/local/apache2/logs/httpd.pid
2. /usr/local/apache2/conf/httpd.conf 파일 환경 설정
# vi /usr/local/apache2/conf/httpd.conf (아래의 ServerName에 서버의 ip주소를 설정하고 80번 포트를 연결시켜 줍니다.)
ServerName=xxx.xxx.xxx.xxx:80 (ex: 192.168.0.4:80)
: 나머지 환경 설정은 본인 서버의 운용 상황에 맞게 설정해 줍니다.
3. 서비스를 등록하고 시작해 줍니다.
chkconfig --add httpd
chkconfig httpd on
chkconfig --list | grep httpd
systemctl enable httpd
systemctl start httpd
systemctl status httpd
4. 방화벽 설정
firewall-cmd --permanent --zone=public --add-port=80/tcp
firewall-cmd --reload
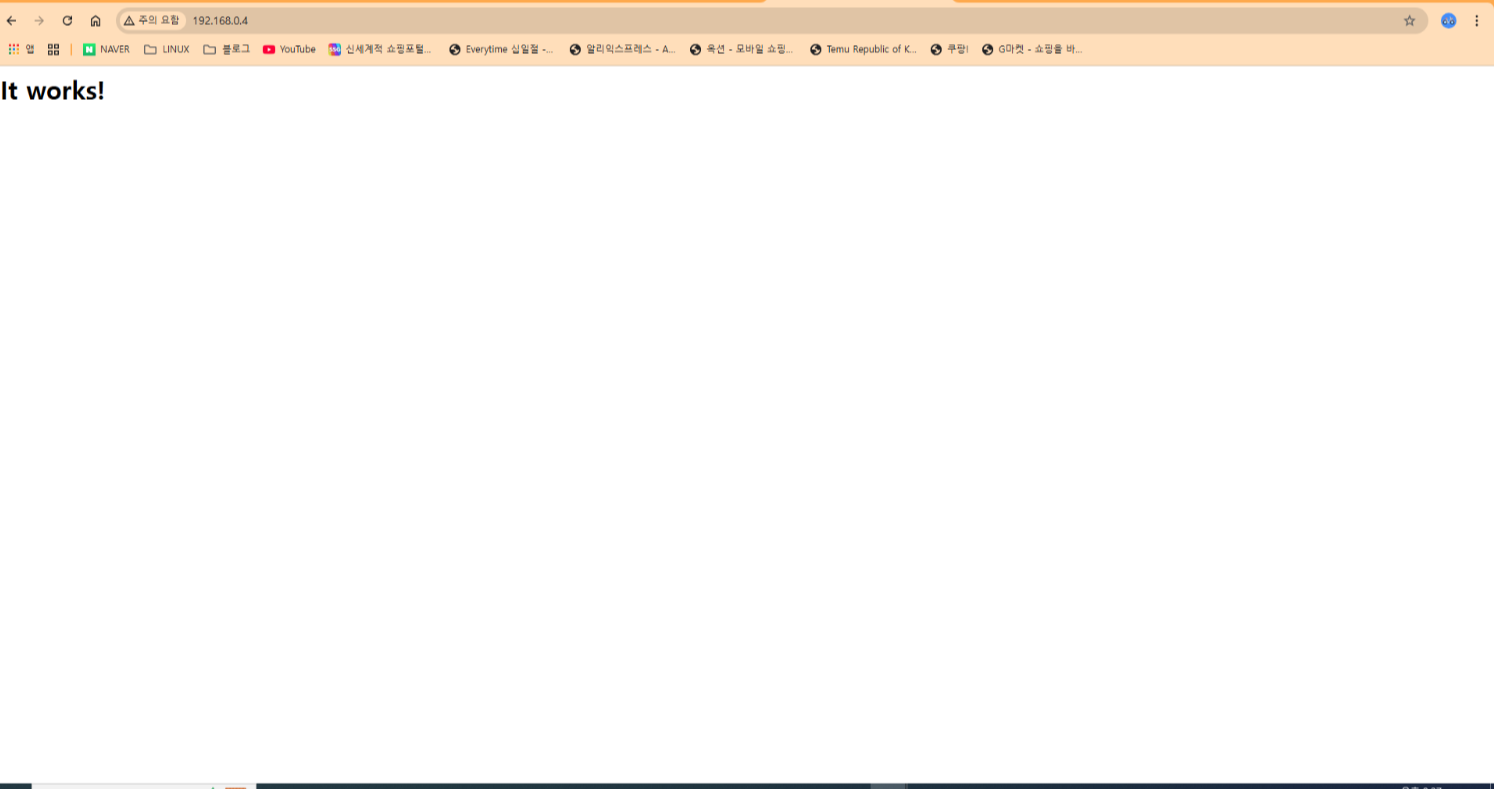
5. apache 설치가 정상적으로 되었는지 확인합니다.
웹브라우저에 http://IP주소/ 로 탐색하면 It works가 뜨면 정상적으로 설치가 된 것입니다.
'+ Rocky Linux > + APM 설치' 카테고리의 다른 글
| [APM설치] phpMyAdmin 설치 (0) | 2024.11.25 |
|---|---|
| [APM설치] PHP 설치 (Ver. 8.1.12) (0) | 2022.12.19 |
| [APM설치] 웹서버 구축을 위한 최신 Apache 설치 (Apache 2.4.54) (0) | 2022.12.13 |
| [APM설치] MariaDB(Ver 10.6.11) 설치 오류 Trouble Shooting. (0) | 2022.12.12 |
| [APM설치] MariaDB 설치(Ver 10.6.11) binary설치 (0) | 2022.12.11 |


댓글